Imagine waking up every morning with perfectly tinted, naturally flushed lips — no lipstick, no liner, no reapplying throughout the day. That's the promise of lip blushing, one of the fastest-growing cosmetic tattoo treatments in the beauty industry. But if you're considering it for the first time, you probably have questions. Here's the complete beginner's guide from Splendid Skincare & Brow Studio — everything from what it is to what it costs to whether it's right for you.
What Lip Blushing Is (And Isn't)
Lip blushing is a form of semi-permanent cosmetic tattooing that deposits pigment into the upper layers of the lip skin to enhance color, define the lip border, and create the appearance of a natural, just-bitten flush. Unlike a traditional tattoo, which penetrates deep into the dermis and lasts forever, lip blushing targets the upper dermis — meaning the pigment gradually fades over 2–5 years, allowing you to adjust your shade as trends and preferences evolve.
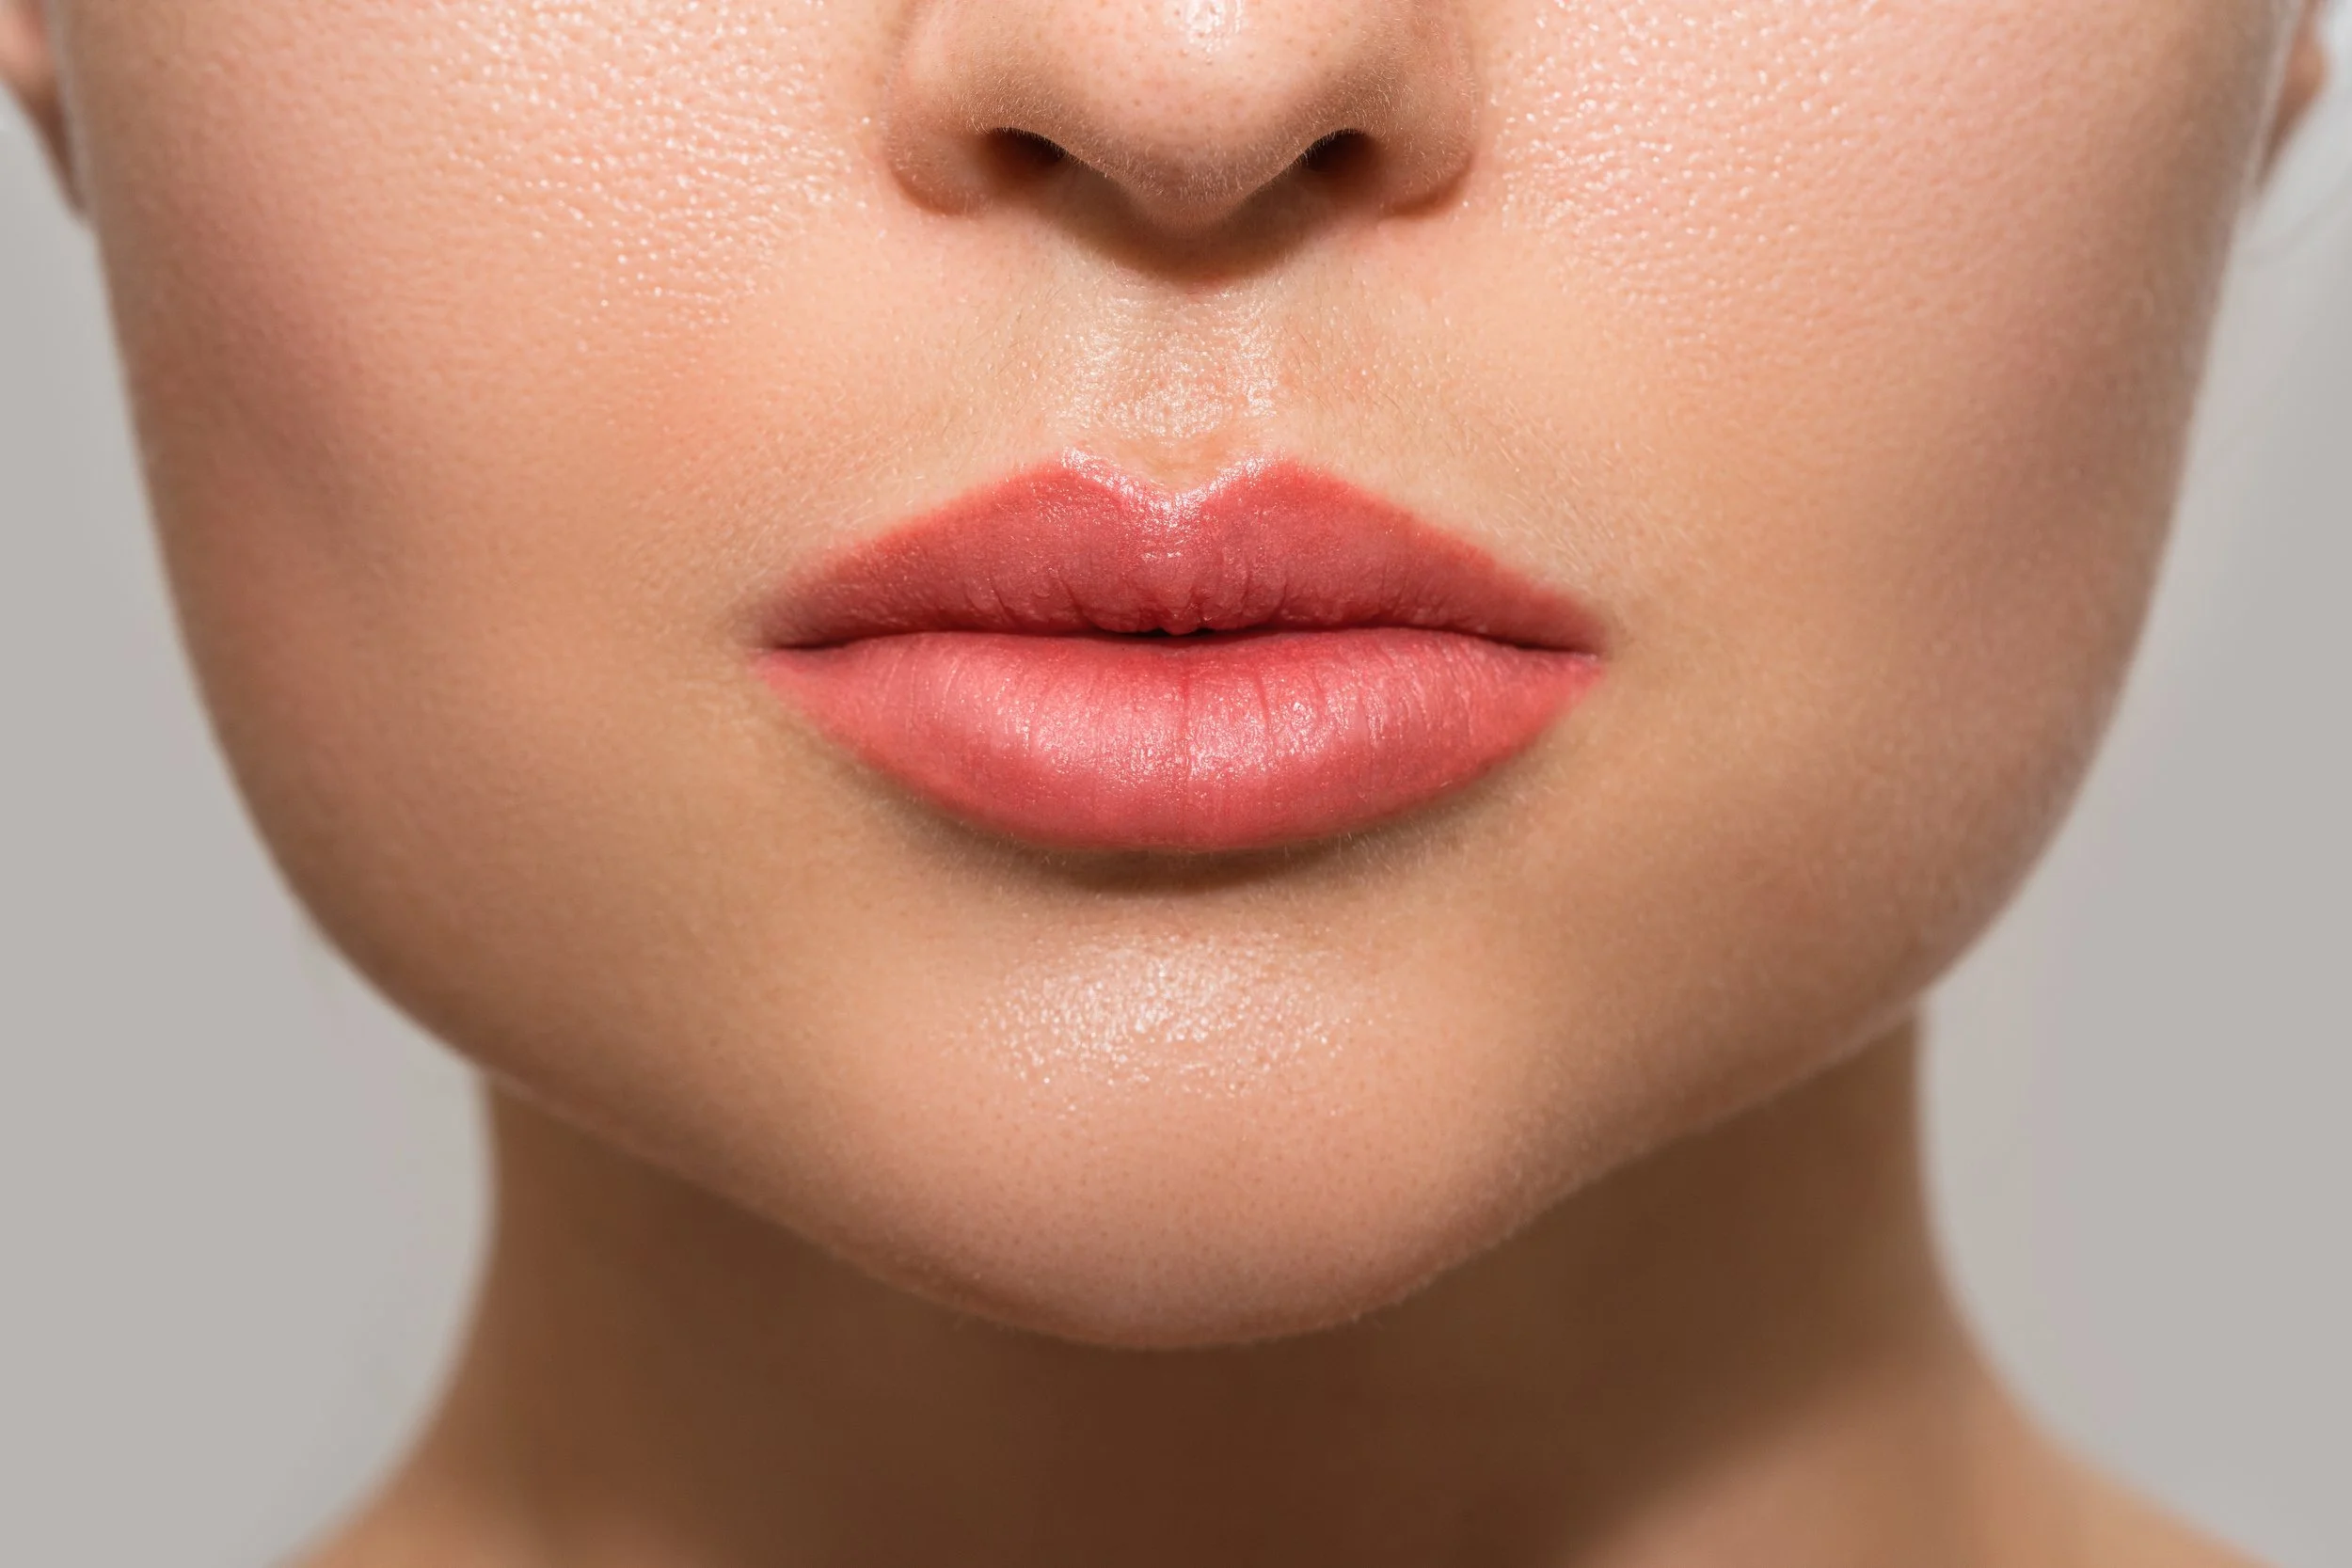
The result is beautifully subtle: your lips look like a more vibrant, even-toned, perfectly colored version of themselves. It's not a bold, opaque lipstick look (unless that's specifically what you want). The "blushed" effect enhances what you already have — evening out asymmetry, correcting pale or uneven color, defining a faded lip border, and creating the kind of effortless, natural color that looks like you were simply born with perfect lips.
What It's NOT: Lip blushing is not the same as a traditional lip tattoo, which uses different pigments, deeper penetration, and typically creates a bolder, less natural look. Modern lip blushing uses cosmetic-grade, iron-oxide-based pigments specifically designed to fade naturally and maintain color accuracy over time — without turning blue, purple, or gray as older tattoo inks could.
Your Appointment: Step by Step
Tap each step to see what happens.
1
Consultation & Color Selection
20–30 min
Your artist discusses your desired outcome, assesses your natural lip color and skin undertone, and custom-mixes pigments to create your ideal shade. You'll see color swatches on your skin and approve the final shade before any work begins. This is also when you discuss shape — whether you want to enhance, correct, or slightly extend your natural lip line.
2
Numbing
15–20 min
A topical numbing cream is applied to the lips and left to take effect. This is the key to a comfortable experience — by the time the tattooing begins, most clients feel only light pressure and vibration, not pain. Some artists apply additional numbing throughout the procedure for sustained comfort.
3
Outline & Mapping
10 min
Using a lip liner or digital mapping tool, your artist carefully draws the shape of your lip blushing on your lips — showing you exactly where the color will go and how the shape will look before a single needle touches your skin. You approve (or adjust) the shape before proceeding. This step ensures precision and symmetry.
4
Pigment Application
60–90 min
Using a tattoo machine or hand-held PMU device with a fine needle configuration, your artist deposits pigment into the upper layers of the lip skin. They work in multiple passes — building up color gradually from light to your desired intensity. The technique creates thousands of tiny dots of color that blend together for a smooth, natural gradient of pigment across the entire lip.
5
Aftercare & Touch-Up Scheduling
5 min
Your artist reviews detailed aftercare instructions, provides a healing balm, and schedules your touch-up appointment (typically 6–8 weeks later). The touch-up is essential — it allows your artist to refine the color, adjust intensity, and fill in any areas that healed lighter than expected. Most lip blushing treatments are considered a two-appointment process.
Explore Lip Blush Shades
Tap a shade to see who it works best for.
Nude Pink
Dusty Rose
Rose
Berry Rose
Deep Berry
Rich Plum
How Shade Selection Works
Choosing the right lip blush shade is a collaborative process between you and your artist. The final healed color will be approximately 30–50% lighter than how it appears immediately after the procedure — so your artist selects a pigment that accounts for this fading, ensuring the healed result matches your desired shade.
Your natural lip color, skin undertone, and skin type all influence how pigment heals. Cool undertones may pull slightly more pink; warm undertones may pull more peach. Experienced artists like those at Splendid Skincare custom-mix pigments to counterbalance these tendencies, creating a healed result that reads as true and natural.
Taking care of one's skin is not a luxury, it's essential. My skin looks better than ever.
— Lisa, Splendid Skincare Client
The Healing Journey
Tap each phase to see what your lips will look and feel like.
Days 1–2
Days 3–5
Days 6–10
Weeks 2–3
Week 4–6
After Touch-Up
Days 1–2: Bold & Swollen
What to expect
Your lips will be swollen and the color will appear very bold — significantly darker and more intense than your intended final result. This is completely normal. The pigment is sitting at the surface and hasn't settled into the skin yet. Mild tenderness, tightness, and dryness are expected. Apply the healing balm frequently and keep lips moist.
Color intensity100% — Don't panic!
Days 3–5: Peeling Begins
What to expect
Swelling subsides. The lips begin to peel and flake — this is the outermost pigment shedding as the skin heals. The peeling may look alarming (color appears to be coming off in patches), but the pigment deposited in the dermis is staying put beneath. Do NOT pick or pull at flaking skin. Let it shed naturally.
Color intensity70% — Patchy is normal
Days 6–10: The "Ghost Phase"
What to expect
After peeling completes, your lips may look like the color has almost entirely disappeared — this is known as the "ghost phase" and it's the most common cause of unnecessary panic. The pigment IS there; it's just hidden beneath a new layer of healed skin. Trust the process. Color will re-emerge over the following weeks.
Color intensity30% — Ghost phase (normal!)
Weeks 2–3: Color Returns
What to expect
The color gradually becomes more visible again as the healed skin matures and becomes more translucent. You'll start to see your true healed color emerging — softer and more natural than the initial bold application. Lips feel completely normal again with no tenderness or dryness.
Color intensity55% — True color emerging
Weeks 4–6: Settled Result
What to expect
By week 4–6, the pigment has fully settled and you're seeing your final first-session result. The color is soft, natural, and beautifully blended. This is when you assess what areas might need refinement at your touch-up appointment — slightly more intensity in the center, better border definition, or overall deeper color.
Color intensity60% — Ready for touch-up
After Touch-Up: Final Result
What to expect
The touch-up appointment (6–8 weeks after the initial session) deposits additional pigment, intensifies the color, and refines any areas that healed unevenly. After the touch-up heals (same process, typically faster), you'll have your final, polished result — beautiful, natural-looking lip color that lasts 2–5 years. Touch-up maintenance is recommended annually to keep the color fresh.
Color intensity80% — Your final look
Lip Blushing vs. Other Lip Treatments
Factor
Lip Blushing
Lip Filler
Lip Liner Tattoo
Daily Lipstick
What It Does
Enhances color & shape
Adds volume & plumpness
Defines border only
Temporary color
Duration
2–5 years
6–18 months
3–5 years
Hours
Session Time
2–3 hours
15–30 min
1–2 hours
2 min daily
Pain Level
Low (numbing used)
Low–moderate
Low (numbing)
None
Healing Time
4–6 weeks
1–2 weeks
4–6 weeks
None
Natural Look
Excellent
Depends on amount
Moderate
Varies
Maintenance
Annual touch-up
6–12 month refills
Annual touch-up
Daily reapply
Best For
Color, definition, symmetry
Volume, fullness
Border definition only
Versatility
Aftercare Essentials
Proper aftercare is critical to a successful lip blush outcome. How you care for your lips during the first 10 days directly affects how well the pigment retains, how evenly it heals, and how quickly you recover. Here are the rules.
Do
Apply healing balm every 1–2 hours for the first week to keep lips moist
Drink through a straw for the first 3 days to minimize lip contact
Pat lips gently dry — never rub
Sleep on your back if possible to avoid friction
Use SPF lip balm once healed to protect against UV fading
Don't
Don't pick, peel, or pull at any flaking skin — let it shed naturally
Don't apply lipstick, lip gloss, or lip products for 10 days
Don't eat spicy, acidic, or very hot foods for 3–5 days
Don't kiss or allow saliva contact on lips during initial healing
Don't swim, sauna, or expose lips to excessive moisture for 10 days
The Most Important Rule: Do not pick at peeling skin. This is the single biggest factor in uneven healing. When you pull off a flake prematurely, you pull pigment with it — creating a light patch that will need extra work at your touch-up. Let every single flake fall off on its own timeline.
Is Lip Blushing Right for You?
Answer four questions for a personalized recommendation.
1What's your main lip concern?
Pale or uneven lip color
Faded or undefined lip border
Tired of daily lip products
Asymmetry or shape correction
2How do you feel about semi-permanent results?
Love it — less daily effort
Open to it
A little nervous
3Can you commit to 10 days of careful aftercare?
Absolutely
I think so
That might be tough
4Do you have a history of cold sores?
No
Yes
Frequently Asked Questions
Lip blushing typically ranges from $400–$800 for the initial session, with the required touch-up session often included or offered at a reduced rate. While this is a significant upfront investment, consider that the results last 2–5 years — when you calculate the cost of daily lip products over that same timeframe, lip blushing often costs less in the long run. Contact Splendid Skincare for our current pricing and payment plan options.
Lips are one of the more sensitive areas for cosmetic tattooing, but professional numbing cream makes the experience very manageable. Most clients describe the sensation as a mild vibrating or scratching — uncomfortable but not painful. The numbing is reapplied throughout the session. On a scale of 1–10, most clients rate the discomfort at 3–5. It's significantly less painful than getting a traditional tattoo.
If you have a history of cold sores (HSV-1), you can still get lip blushing — but you MUST take a preventive antiviral medication (like Valtrex/valacyclovir) starting 2–3 days before your appointment and continuing for 5 days after. The tattooing process can trigger an outbreak, and an active cold sore during healing can damage the pigment and cause scarring. This is non-negotiable — consult your doctor for a prescription before booking.
While the most popular results are natural and subtle — a "your lips but better" effect — lip blushing can be done in bolder shades if that's your preference. Deeper berry, wine, and rose shades are all possible and can create a more dramatic everyday look. The key is communicating your desired outcome clearly during your consultation so your artist can select the right pigment intensity and application technique.
Lip blushing is not recommended for: pregnant or breastfeeding women, anyone on blood thinners or Accutane, people with active cold sores or lip infections, those with autoimmune conditions that affect healing, diabetics with uncontrolled blood sugar, or anyone who has had lip filler injected within the past 4 weeks (filler should be fully settled before tattooing). Always disclose your full medical history during your consultation.
Let Us Work Our Magic
Curious about lip blushing? Book a consultation at Splendid Skincare & Brow Studio and we'll answer every question in person.